
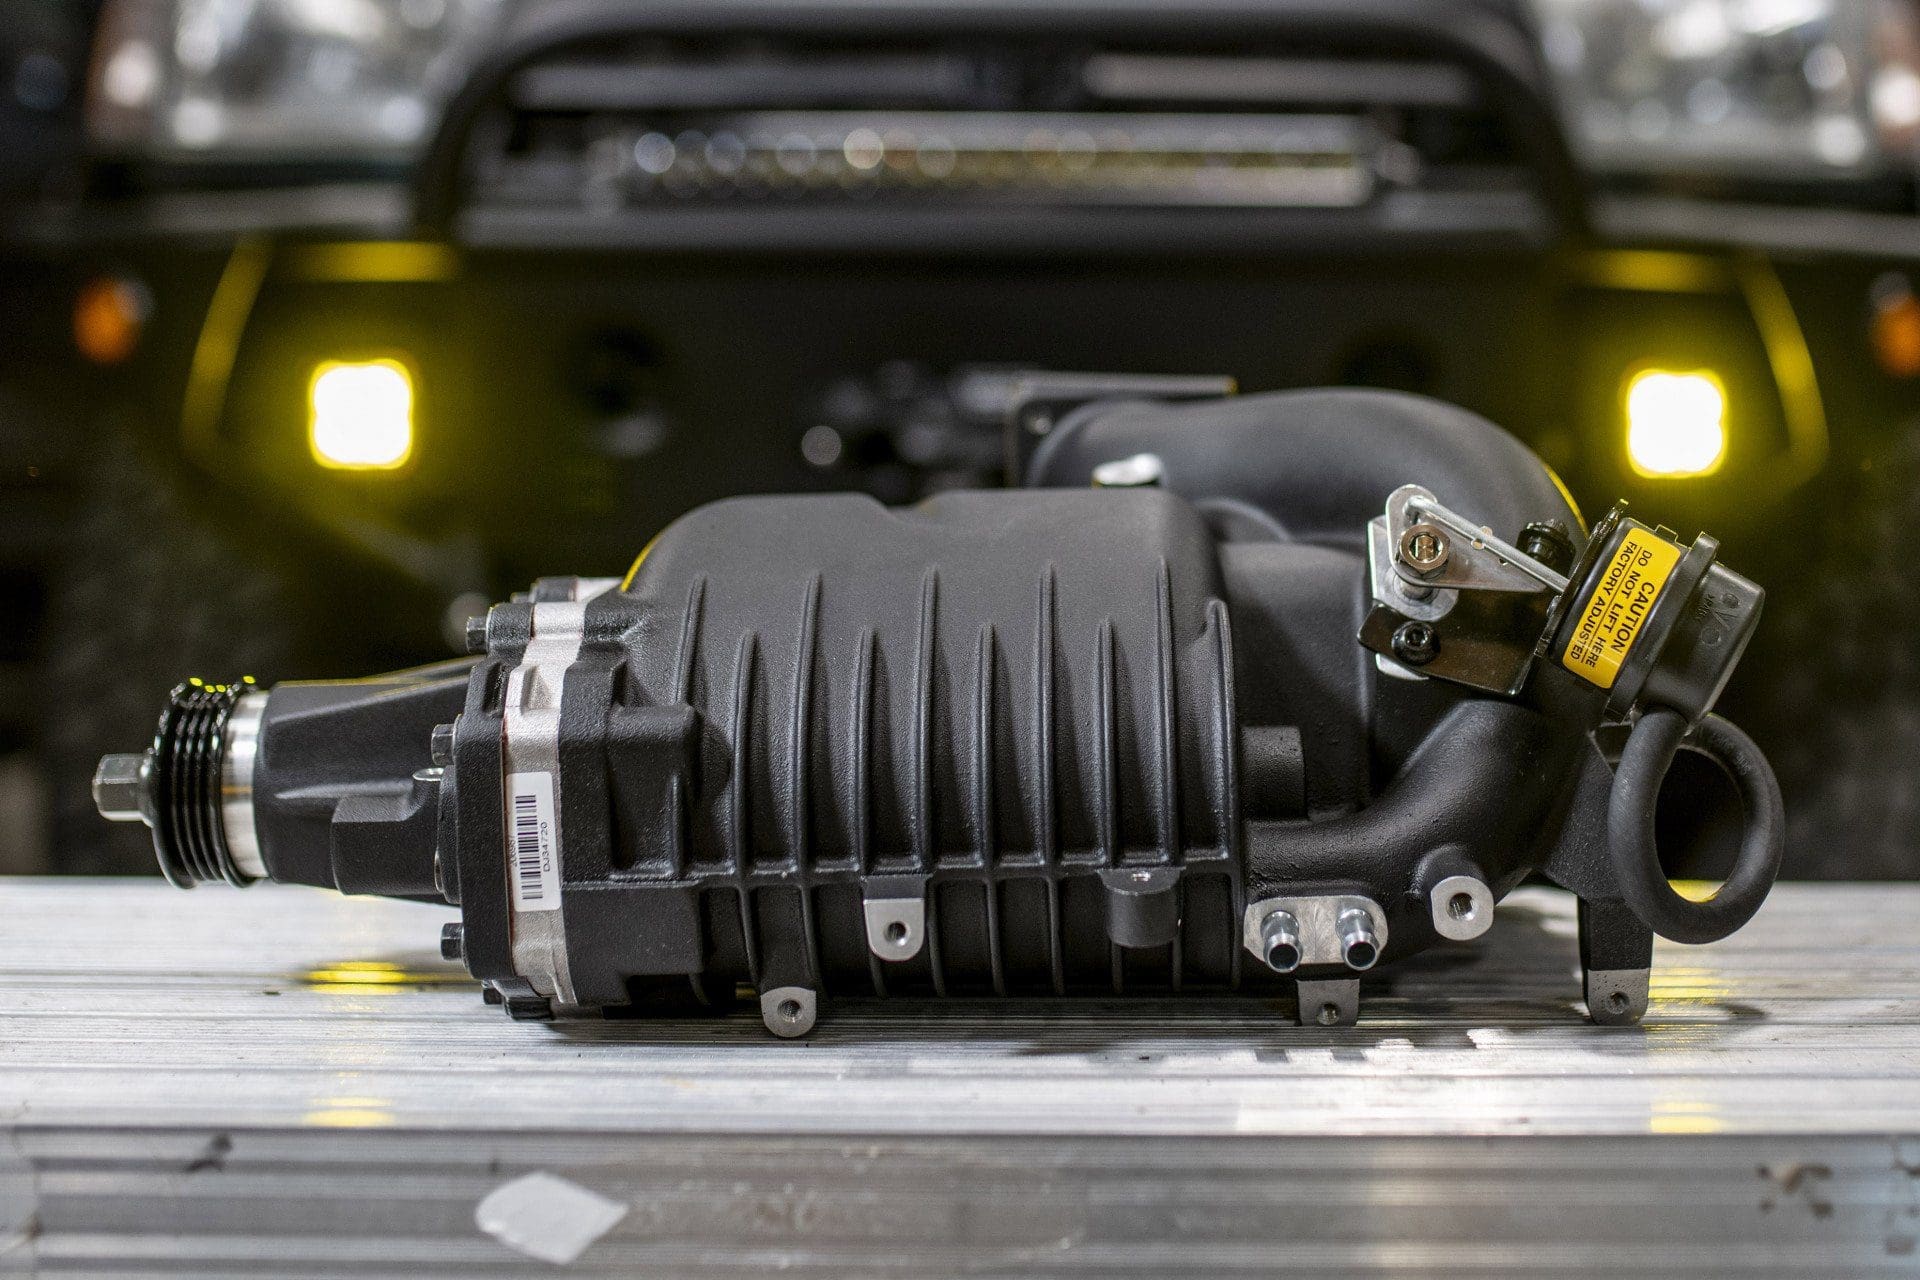
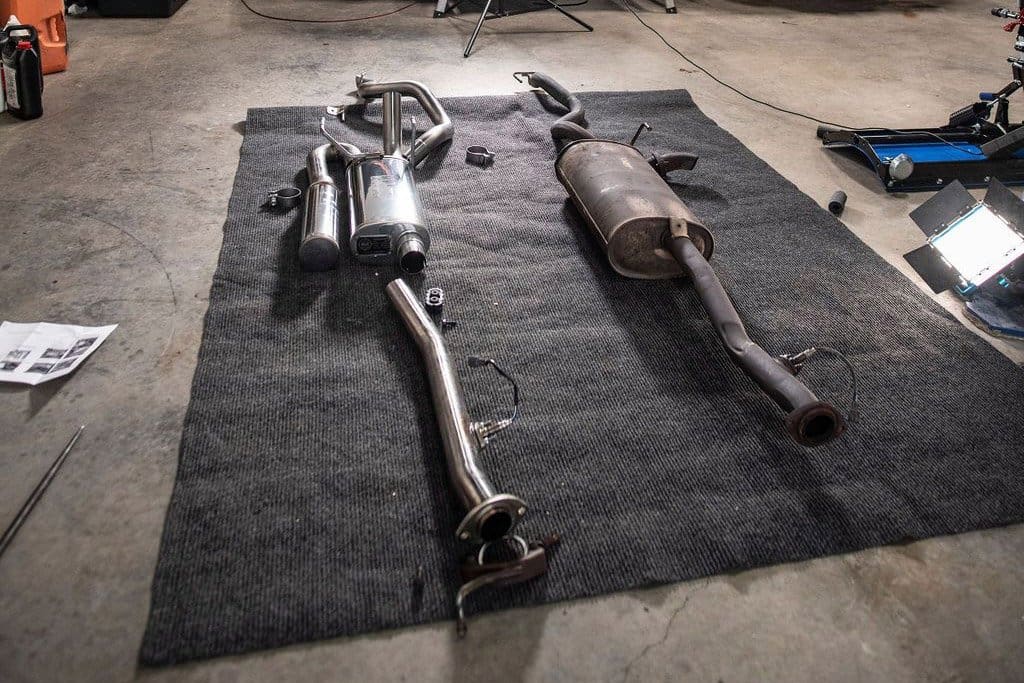
Sound, performance and power — the three things everyone wants and you can have with a Magnaflow Exhaust System. An aftermarket exhaust is the perfect way to unleash your vehicle’s potential. With larger pipes, high-quality T-409 stainless steel construction and straight-through muffler designs, a Magnaflow cat back exhaust or axle back exhaust is the perfect upgrade to virtually any vehicle.

Our Proven Recommendations
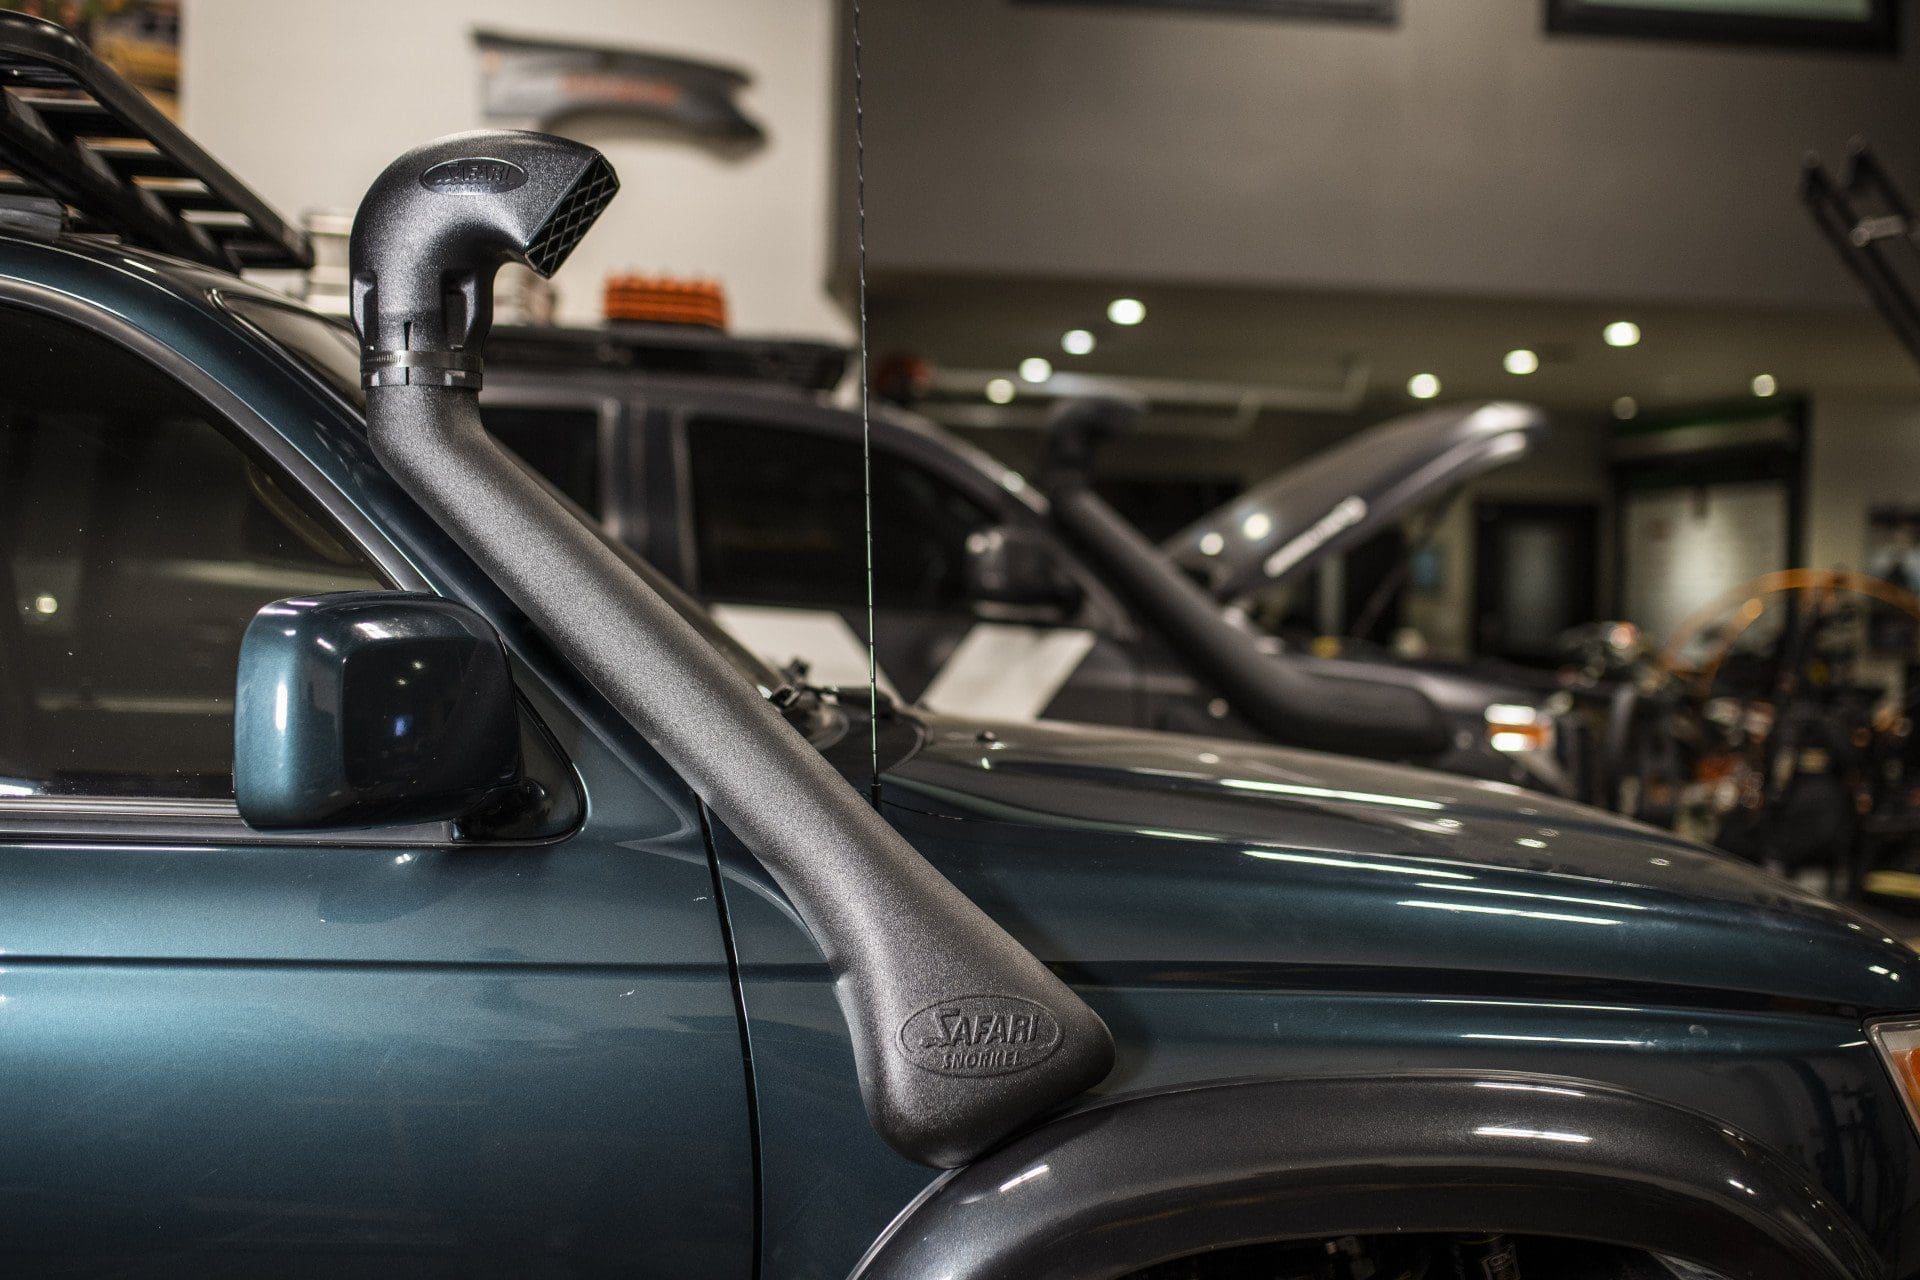
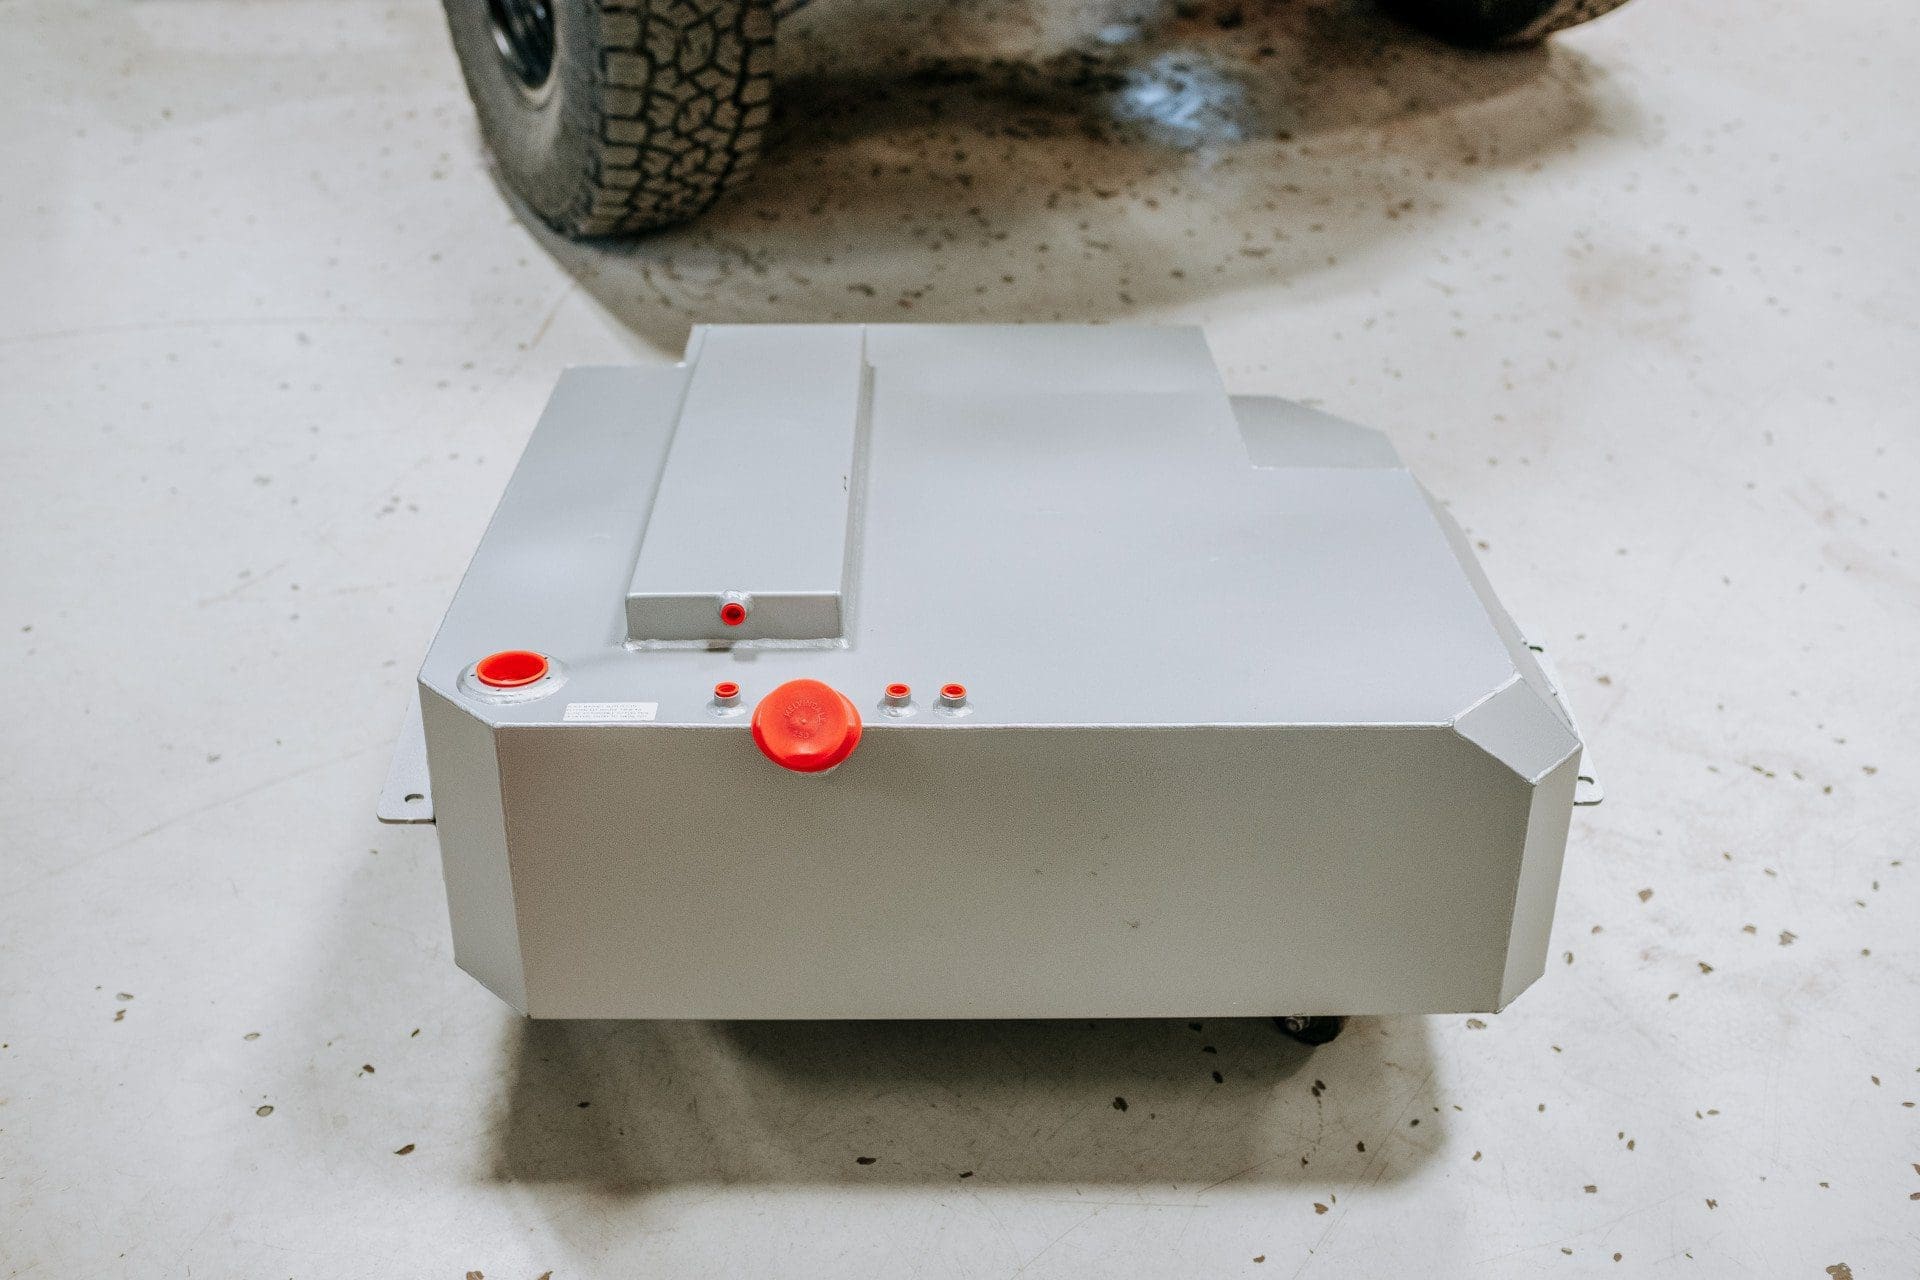
We’ve used Safari Snorkels during our Central and South America series and to present. Long Range Automotive fuel tanks can be found on each of our vehicle builds.
LEARN MORE
SNORKEL 101: FUNCTION & STEP-BY-STEP INSTALLATION
There are few build modifications that make a vehicle look as rugged and expedition-ready as a snorkel. Also known as a ‘raised air intake’ this aftermarket addition may look cool, but it also serves some important functions.
The main purpose of a snorkel is access to clean air. Most people associate the snorkel with water crossings, as it prevents water from flooding through the vehicle’s airbox and into the engine, potentially causing electrical and mechanical damage. But a properly installed snorkel can also protect your engine from the dust that would normally enter the air intake under the vehicle’s wheel well. It works just as a swimming snorkel does – by raising the air intake, your lungs have access to the water-free air above you.
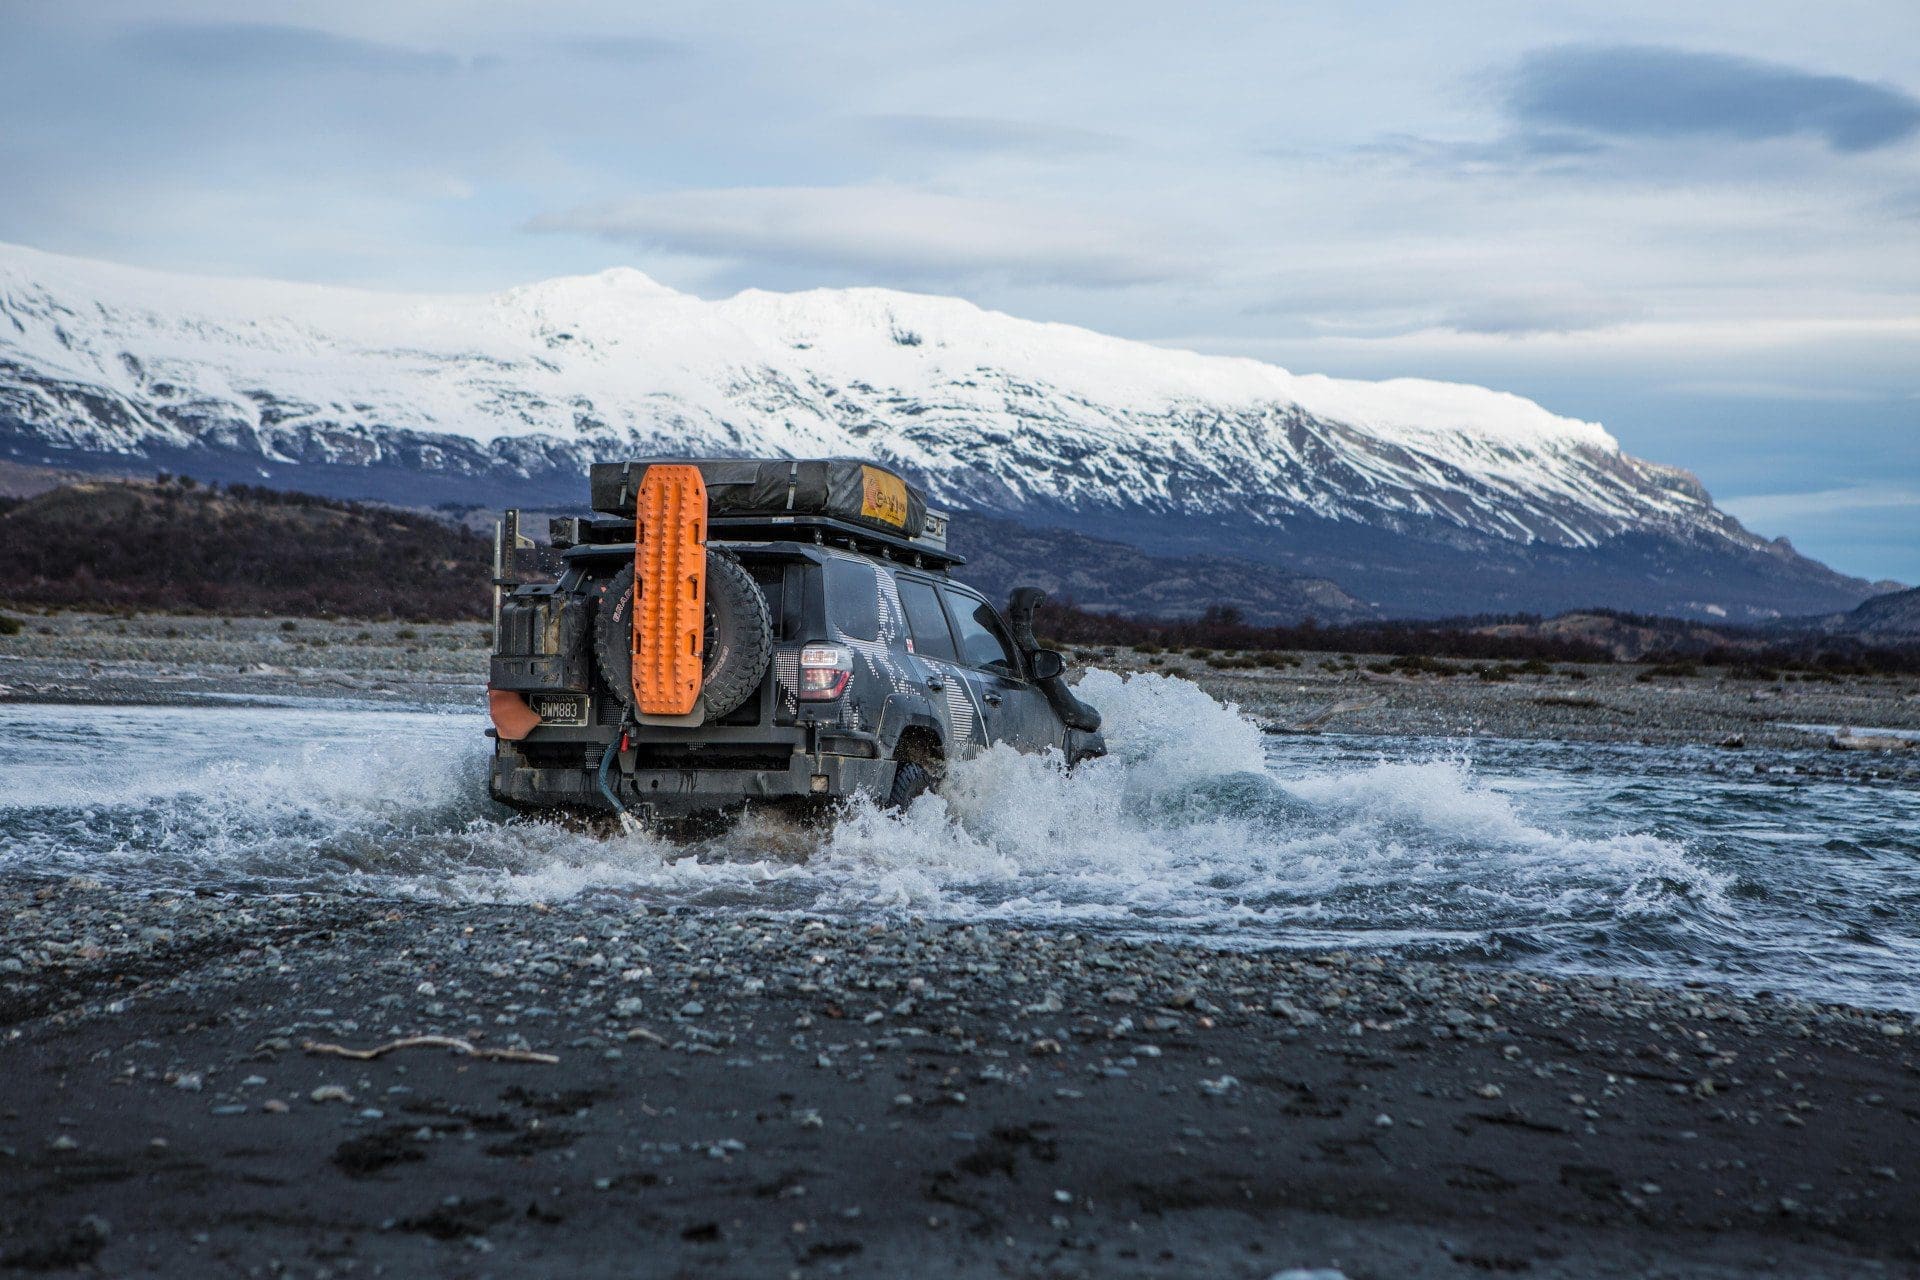
It is important to note that installing a snorkel does not give your off-road vehicle an Aquaman-like ability to breathe underwater for long periods of time. Manufacturers not only set wading and intake depths based on which components are most likely to be damaged in a water crossing, but also take into account how well sealed the cabin is from water intrusion. Have you installed a lift kit or swapped out stock tires for larger ones? These factors will also impact how you approach a water crossing.
Snorkel fitment is another important consideration. The best bet, in our experience, is to purchase a snorkel that is made specifically for your vehicle. A snug fit is important here – you don’t want any leaks! We’ve had great success with the ARB Safari Snorkel Intake Kit, and have installed them on every one of our vehicles since 2010 (with the exception of the Prospector and Gladiator builds, for which AEV manufactures extremely well-made snorkels). If you don’t have the tools and materials, head to your local 4×4 shop for help with installation.
A STEP-BY-STEP GUIDE TO INSTALLING AN ARB SAFARI SNORKEL INTAKE KIT
If you do have the tools and would like to give a snorkel installation a go, we’ve set out the how-to below! Make sure to check out Episode 26 of “Oh Hey There!” with Jeff below, as the video is a great visual complement to these instructions.
1. Use the provided template to tape and mark your drilling locations.
2. Remove the template and drill the stud holes. We like to use the step-bit as it gives a nice clean cut and won’t mangle the metal as much as a normal bit would.
3. Next, cut the large hole for the airflow intake into the engine. Using a body saw is the easiest way to create the oval shape. Some kits are also designed so that you can use a four-inch hole saw to make the cut.
4. Go in and file the edges of your holes, ensuring any burrs are removed. Follow this up with a bit of paint to prevent any rust from forming.
5. Insert the studs into the snorkel. This is just for fitment at this point. We’ll use LOCTITE later in Step 9. We want to make sure everything lines up properly, because next is our most critical step.
6. Drilling holes into the A-pillar: Mark the area in tape where the bracket will be installed, lining the holes up correctly. Drill your holes, file and paint. Finally, insert the plastic tabs that will be screwed into later.
7. To install the air intake hose, first remove the airbox. Pinch together the end of the air intake hose that goes into the engine bay. Feed it up through the wheel well and into your air intake hole. Once that is in place, place your clamp around the air intake hose and reinstall the airbox.
8. Place the collar around the other end of the hose, which should be accessible through the large oval snorkel hole.
9. Put LOCTITE on the studs in the snorkel. Now you’re ready to mount the snorkel onto the vehicle.
10. Once that is complete, loosely screw the washers and nuts into the wheel well. We do this so that the bracket on the A-Pillar can be lined up first. Once lined up, make sure to tighten up the nuts in the wheel well and the bolts located on the A-pillar. Ensure your hose clamps are nice and tight as well, both inside the wheel well and inside the engine bay.
11. The last step is to install the ram head. Insert the clamp around the base of the ram head first – slide it on top and tighten it down. We like to face the screw clamp to the back so that we don’t snag anything on it when we’re on the trail.
Finally, for river crossings it is a good idea to extend your diff breathers and make sure your electrical components are also protected.