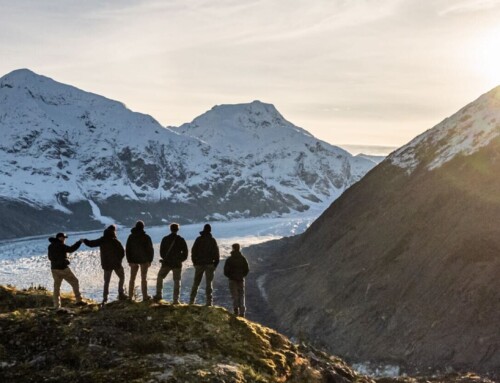
While overlanding offers a unique blend of adventure and freedom, nothing can derail the thrill faster than digging through a disorganized mess. Assigning a designated place for each piece of kit leads to a quicker camp setup and teardown and more efficient meal preparation. This allows you to spend more time enjoying a laugh with friends, sitting around a crackling campfire, or choosing a lengthy off-road trail, all while conserving energy and focus for the journey ahead.
You likely know by now that overland vehicles have a finite storage capacity. Knowing which items you’ve brought (and where they all belong) helps balance weight distribution, ultimately leading to optimal vehicle performance and fuel efficiency. In this post, we’ll explore practical tips for categorizing, storing, and accessing your gear so you can tackle any overlanding challenge with confidence and ease.
How to Stay Organized: Personal Items
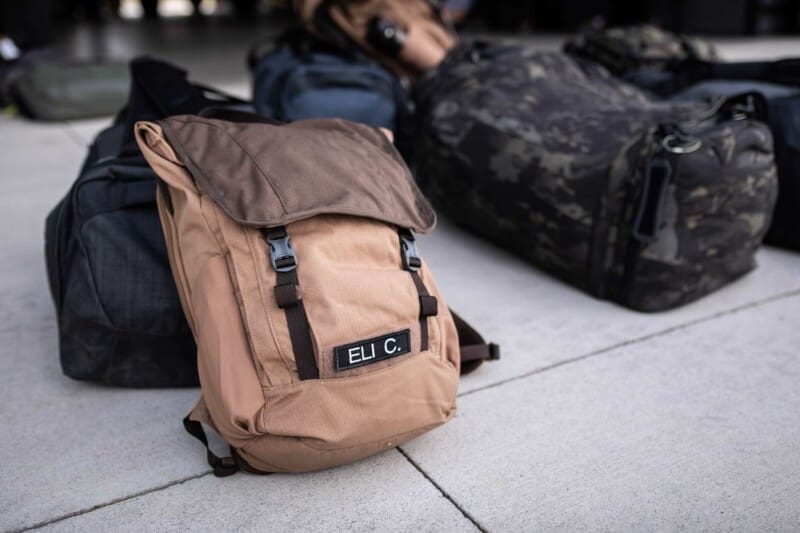
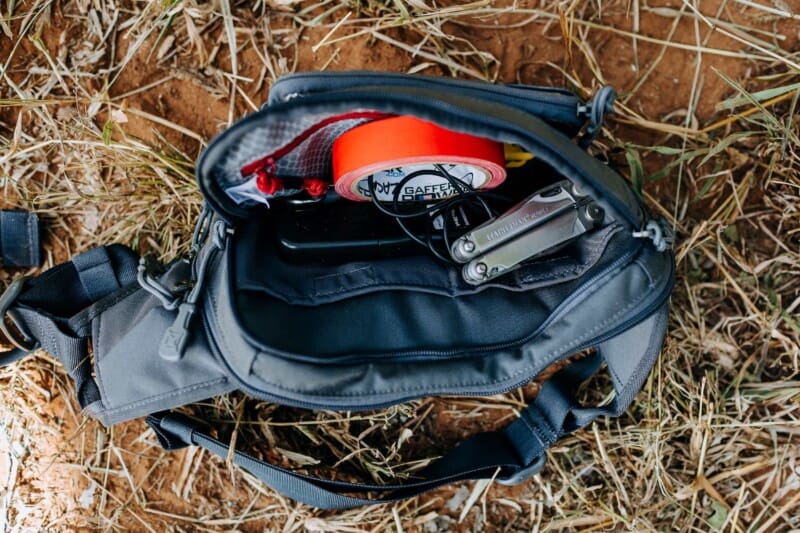
For many overlanders, clothing pockets are the first step to personal item organization. Keys, wallets, and phones live in pants or zipped side pockets. A small tactical pack or sling can come in handy as you add things like passports, band-aids, sunscreen, headlamps, etcetera. Our go-to items during the Season 6 Africa and Return to Africa expeditions were the Vertx Multicam S.O.C.P. sling, the S.O.C.P. Tactical fanny pack, and the Long Walks Multipurpose waist pack.
Top Tip: If you have the space to do so securely, store personal items in clothing that won’t be removed frequently, such as in pants pockets rather than jackets, which are often worn and shed as temperatures shift in and out of the vehicle.
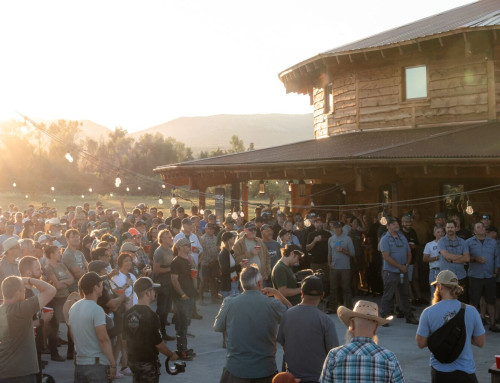
As the XOVERLAND crew nearly always travels as a group, the goal is for each team member to keep themselves as contained as possible. It doesn’t take long for stuff to roam throughout the vehicle, though, especially when we’re on the move! One of our go-to pieces of gear is the classic visor clip, while we use multi-tool pouches to keep track of satellite messengers, knives, and other tools. Larger items can be safely stashed, lashed, and stored using bungee cords, carabiners, and ratchet straps. Keeping some items in a communal basket or box is also helpful, including snacks, maps, hand sanitizer, and Shower Pouch wipes.
You probably already own the other must-have overland travel item: the toiletry bag. Also known as the Dopp kit (from German leather craftsman Charles Doppelt), this bag keeps toiletries organized and easily accessible. If you choose a hanging kit, it frees up counter space and can be hung in bathrooms or showers without flat surfaces. Our team packs the Vertx Contingency Outbound kit.
How to Stay Organized: Clothing
When overlanding, vehicle space is often limited, and the environment can be unpredictable. Keeping your clothing organized can make a huge difference in comfort and efficiency. Here are five tips to help you stay organized while maximizing your gear’s functionality:
Choose Your Vessel Wisely
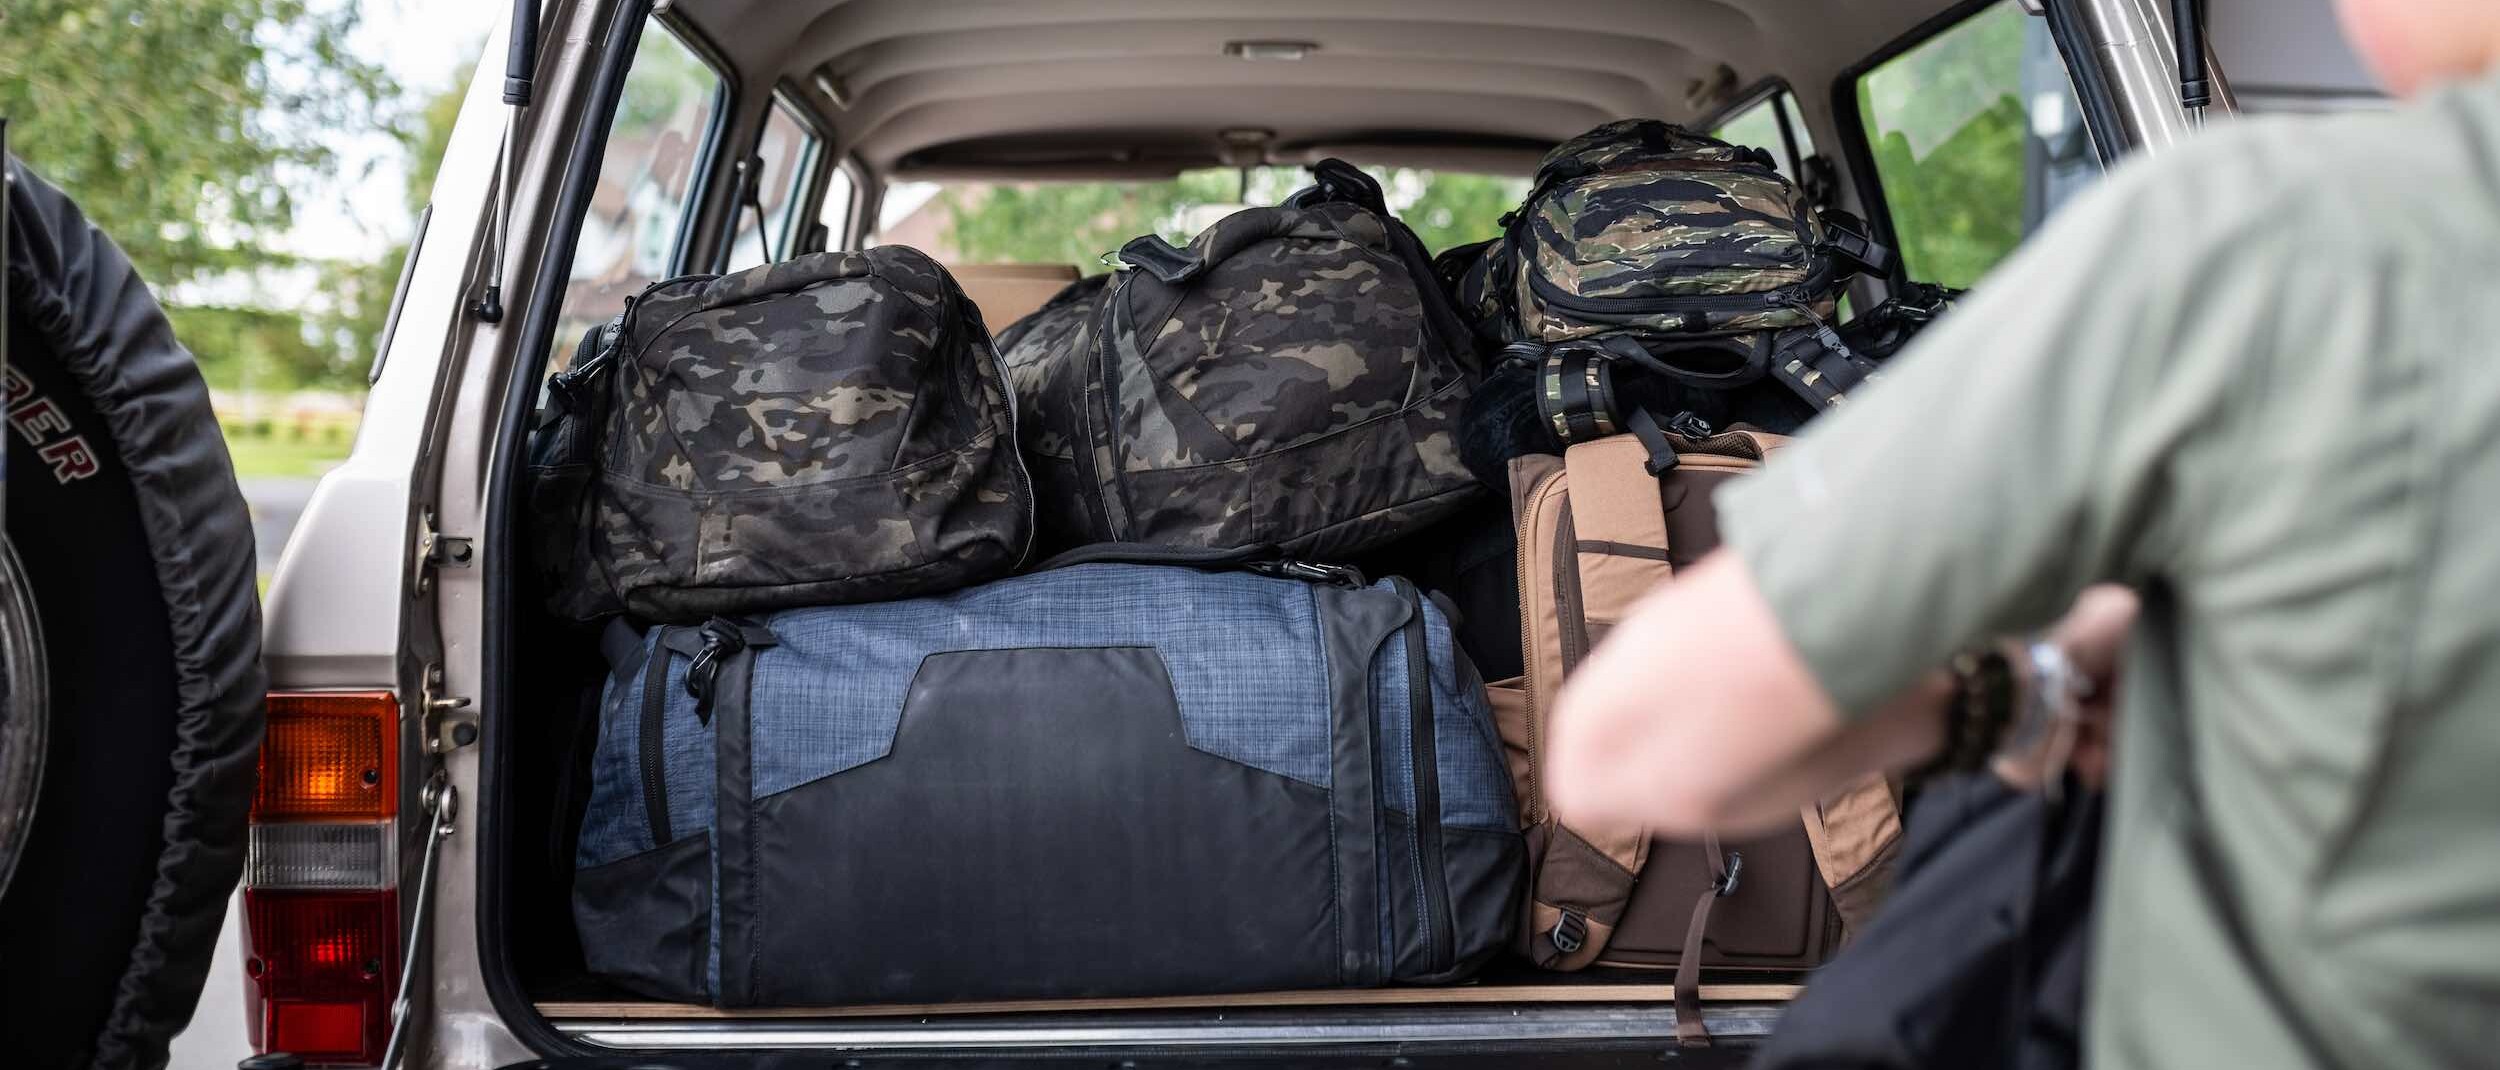
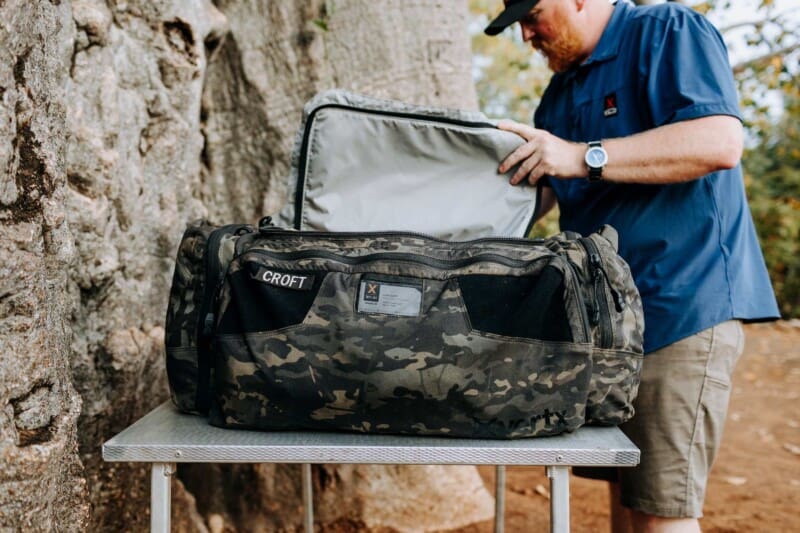
Aside from the backpack, the duffel is the most practical bag for the overland traveler. A rugged, waterproof duffel allows you to strap your belongings to a roof rack or leave it outside the vehicle in camp without the threat of wet or dusty clothing, while its lack of hard sides means it can be manipulated to fit into tight spaces.
Many duffel bags are designed with straps to haul them like a backpack through the airport or during transit. Look for exterior pockets for dirty or wet items, including socks or footwear. Our team has used both the 45– and 85-liter Contingency duffels from Vertx—those bags have traveled worldwide.
AluBox aluminum cases have been indispensable on every XOVERLAND expedition because they house all sorts of footwear, from winter boots to sandals. AluBoxes keep hiking boots and shoes safely contained, protecting them from the elements and keeping us from smelling stinky feet all day.
Use Compression Bags and Packing Cubes
Compression bags and packing cubes help organize your clothing and maximize limited space in your vehicle. Compressing your clothes allows you to fit more items into your storage space while keeping them easily accessible.
Each traveler is unique in how they organize their packing cubes. Some opt to separate clothing into categories (base layers, outerwear, sleepwear, etc.), while others store pants, T-shirts, long-sleeved shirts, socks, and underwear separately. Another option is to keep one packing cube for certain activities; for example, your hiking or gym socks, pants, and tops are stored together. If your packing cubes aren’t transparent, color-code them for easy identification.
Roll Your Clothes, Don’t Fold
Rolling clothes instead of folding them helps minimize wrinkles and saves space. Rolled clothing can also fit more easily into small corners of your storage spaces. This method works well for lightweight clothing like T-shirts, pants, and outer layers; however, folding may be better for heavier items (like jackets or fleece).
Designate a Bag for Dirty Clothes
Having a designated bag for dirty or worn clothing helps maintain cleanliness and organization, preventing your fresh clothes from mixing with your used ones. Consider creating a dedicated place for dirty laundry, such as in a large mesh bag, complete with some paracord, clothespins, and Campsuds or Sea to Summit Wilderness Wash.
Opt for Multi-Use Items
When you’re limited on space, choosing clothing that can serve multiple purposes is crucial. Multi-use items save room and reduce weight, making it easier to pack for any condition. A lightweight jacket can double as a pillow or blanket, while quick-drying base layers can be used for hiking, sleeping, and lounging. Perhaps one of the most versatile items, a scarf or buff, can act as a headband, neck gaiter, face mask, or sweatband.
To learn more about the importance of building a layering system that works for you and your overlanding journey, check out our Ultimate Layering Guide for Overlanding Adventures.
Top Tip: As much as possible, try to minimize the need to move one item to access another.
How to Stay Organized: Electronics
In an ideal overlanding scenario, we would all leave our laptops behind. However, as the opportunity for remote work continues to increase, the reality is that many of us travel with more electronics than just our mobile phones. This is especially the case if we’re into photography, video, or podcasting from the road. Additional stuff requires additional organization solutions. Here are a couple of ours.
Create a “Tech Essentials” Bag or Case
Keeping your electronics (and their accessories) in one bag or case makes it much easier to access what you need. This could look like one medium or small-sized bag for personal items and one for electronics, or one bag or backpack for all of the above, including your phone, any tablets, power banks, cameras, GPS, chargers, spare batteries, SD cards, portable speakers, and adapters. Consider using a padded or hard-shell case for fragile electronics to protect them from bumps, dust, and moisture.
For smaller items, multiple compartments are key. Add labeled designated pockets and pouches (such as these Vertx Overflow Mesh pouches) to the inside of your backpack, to a MOLLE panel, or clipped with a carabiner. These are particularly effective for cables and cords—which we will touch on next.
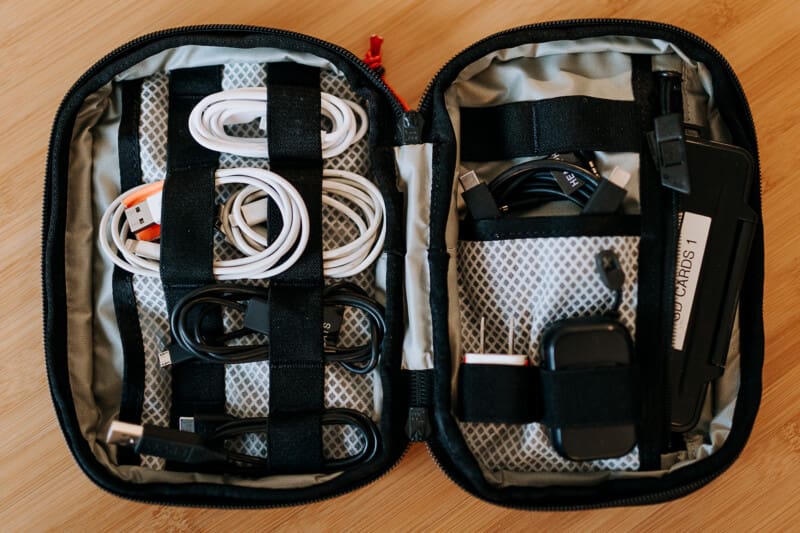
Use a Cable Management System
Overlanding typically involves multiple devices that need charging—phones, cameras, GPS, laptops, etc.—and all those cables can quickly turn into a tangled mess. A cable management system helps you keep cords neatly organized, easy to access, and tangle-free.
One way to keep cords from migrating is to attach small adhesive cord clips to your vehicle’s interior (such as on the dashboard, glovebox, or center console). Color-coding or labeling cords is helpful so you know which cord belongs to each device or, if overlanding with a group, whose cords belong to whom.
When you’re ready to store the cords, try Velcro straps or cable ties to bundle cords together, preventing any tangling. The cables can be placed in a small, zippered pouch or organizer. These often include slots for different types of cables and can hold adapters, chargers, and extra SD cords in an organized manner.
Conclusion
Overlanding is all about embracing the freedom of the open road and staying organized ensures that the journey remains enjoyable and stress-free. From keeping personal items and clothing in check to managing electronics with precision, these strategies optimize your storage and enhance your overall experience. By planning and implementing a smart organization system, you’ll save yourself time, effort, and frustration on the trail. So, pack wisely, hit the road confidently, and focus on what truly matters—making memories and exploring the great outdoors. Happy overlanding!