While your vehicle’s headlights are likely more than sufficient for global overland travel, there are undeniable benefits to adding good-quality exterior lights to your build. A well-lit camp is safer and more comfortable and will save you some headlamp batteries in the process! From rock lights to camp lights, there are a variety of options on the market – it’s just about what works for you. Read on for our tips and tricks when it comes to choosing exterior lighting for your overland vehicle.
We like to categorize lights by function, including driving lights, utility lights and camp lights. Let’s dive into each category.
DRIVING LIGHTS
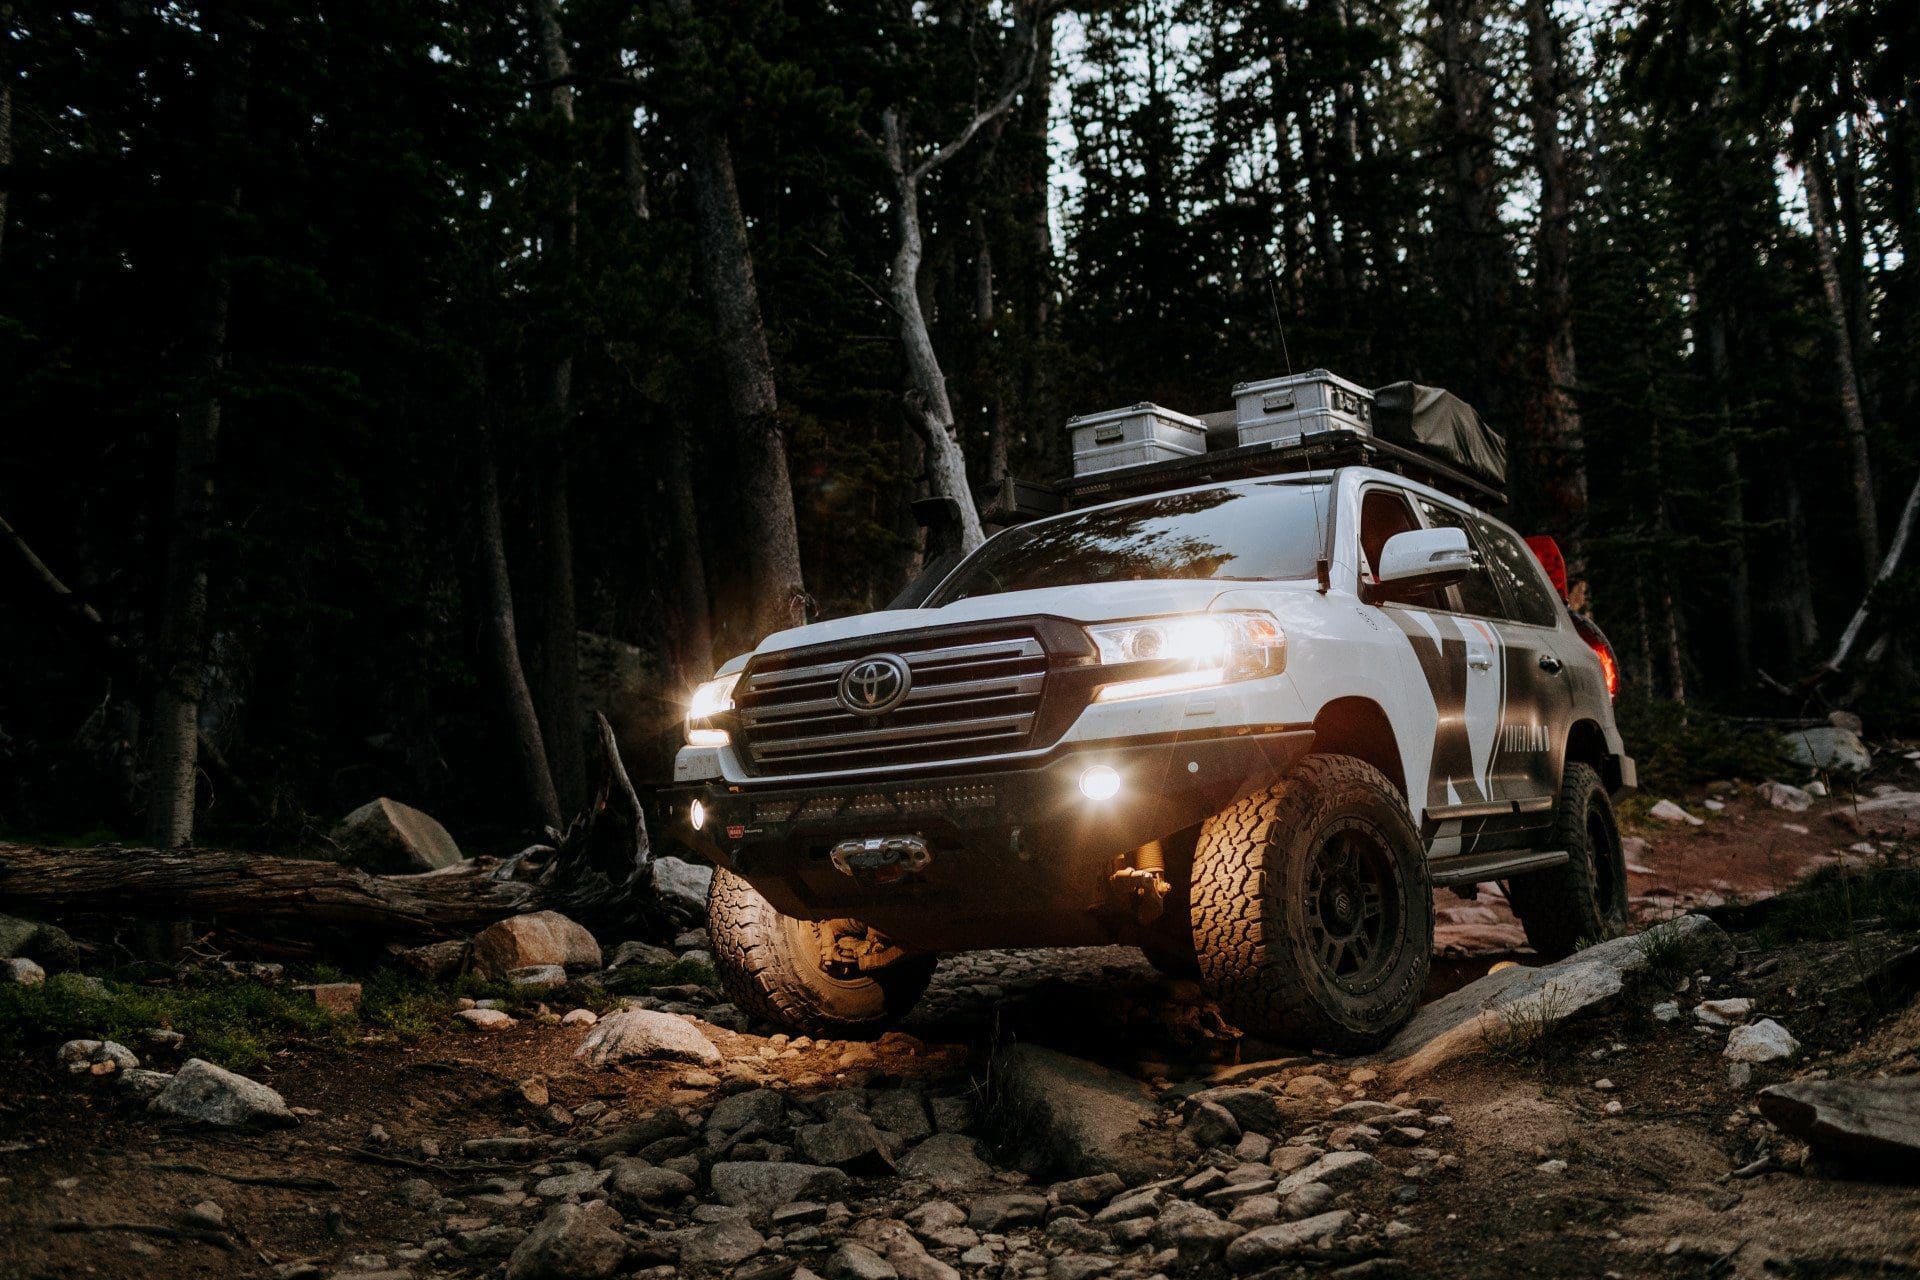
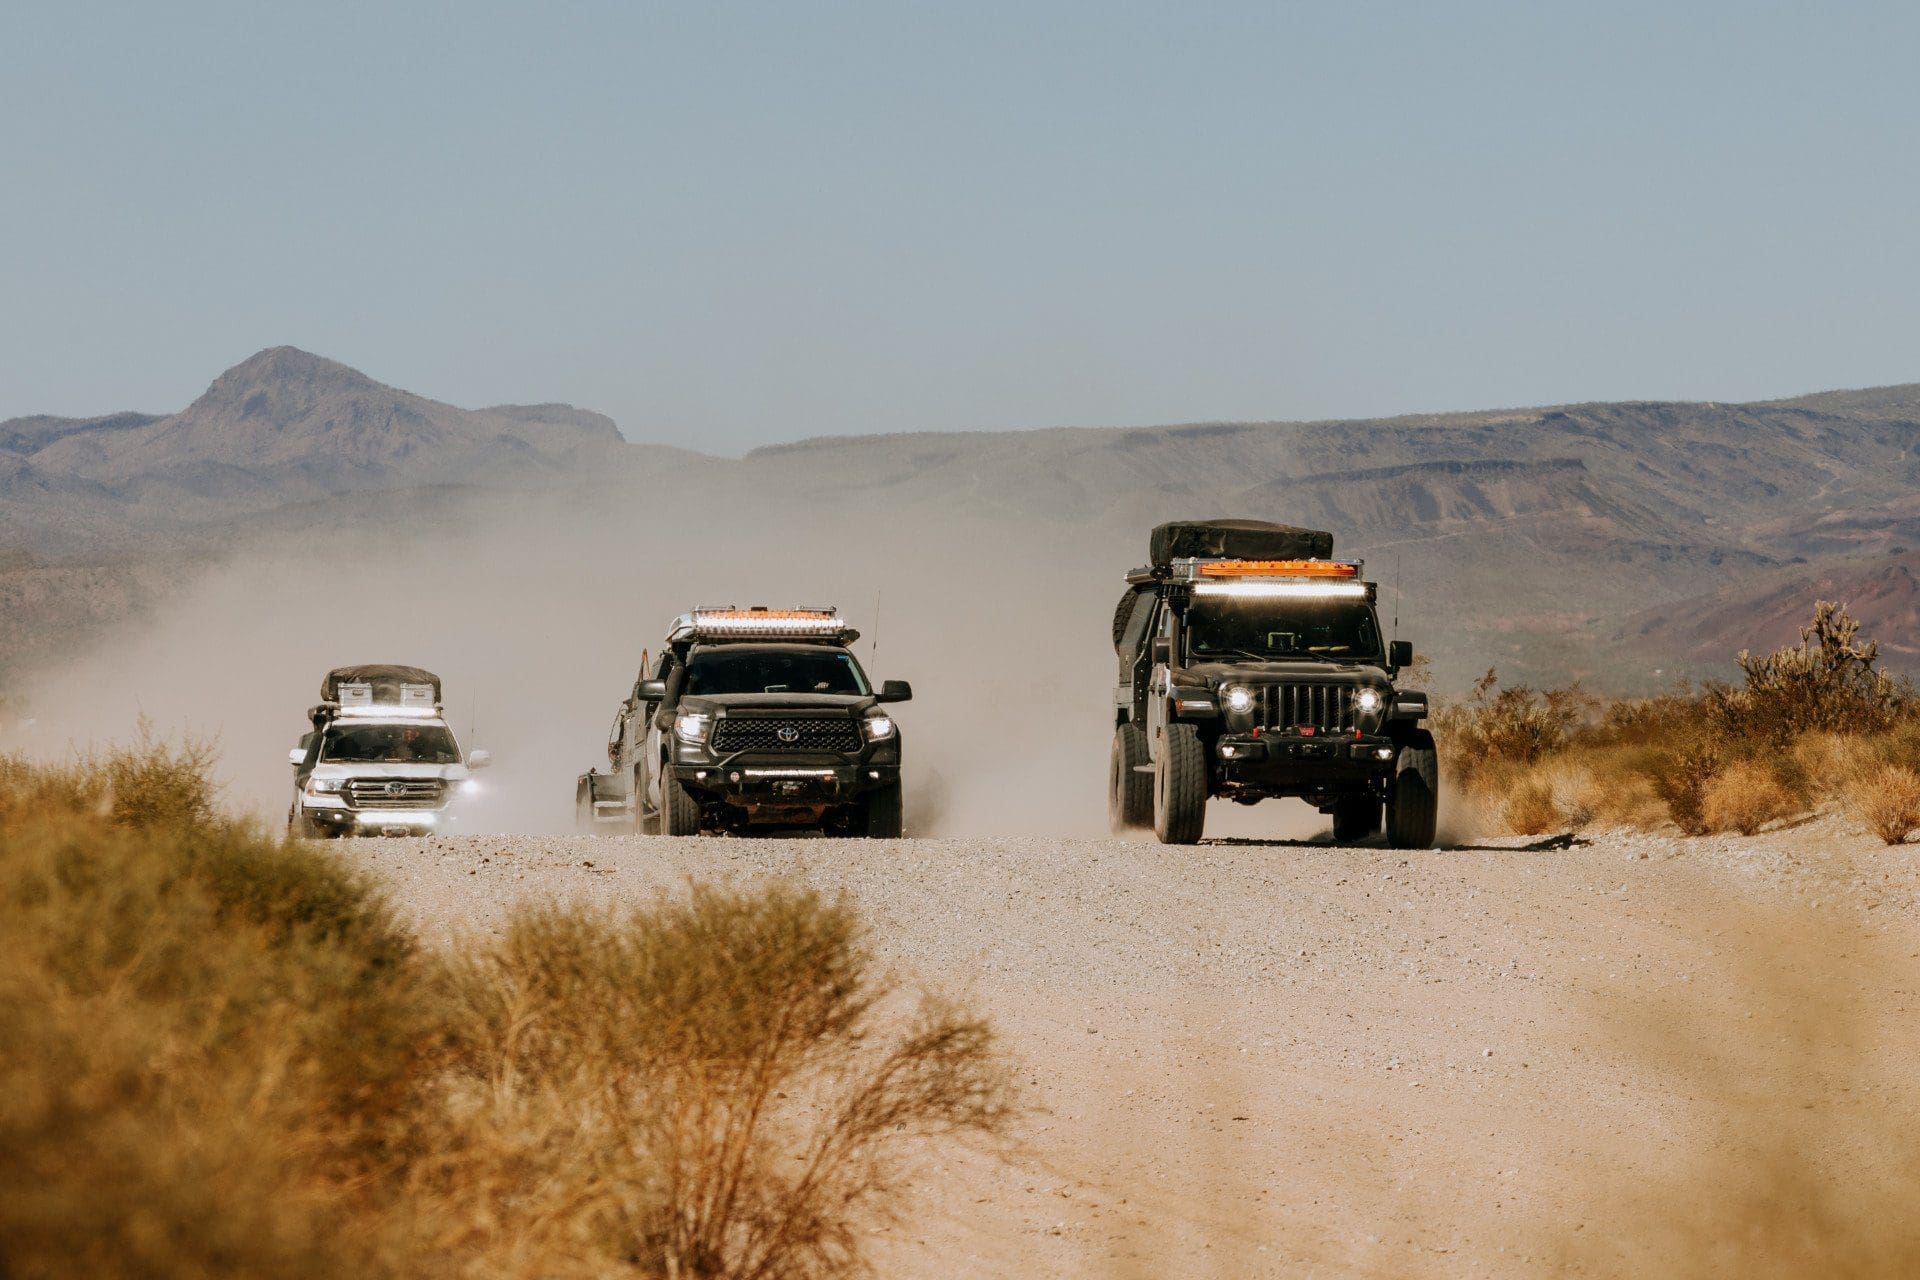
Auxiliary driving lights provide increased coverage that factory headlights just can’t compete with. They come in especially handy during dusk and dark. You are most likely to find driving lights in bar, pod and round form, and beams vary from diffused to flood to fog.
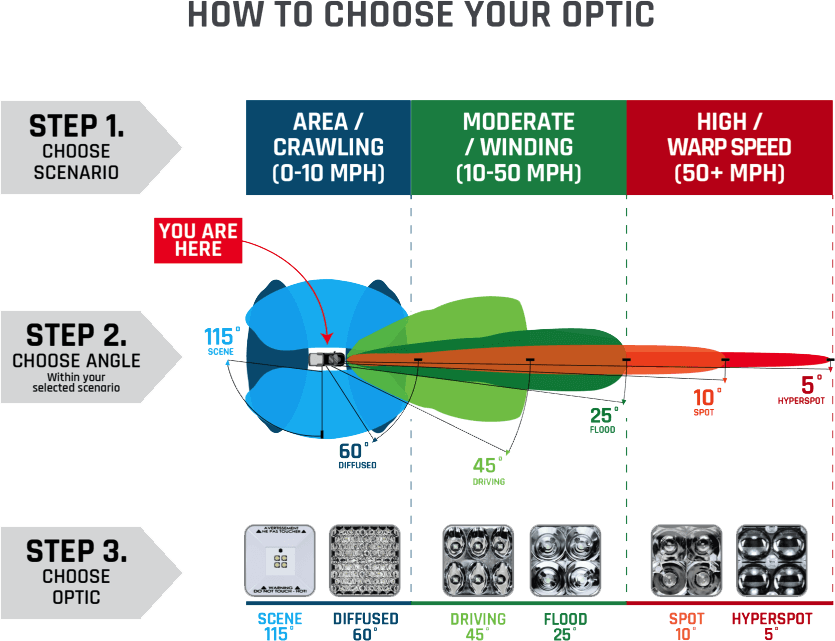
Our friends at Rigid Industries created this informative ‘How To Choose Your Optic’ chart – a great tool to help narrow down light choices by scenario and angle.
A Word About Placement
There is a tendency in the off-road community to install light bars high up on vehicles. It looks cool and makes you feel like a global traveler. Top-mounted lights are best used when you’re bombing down a dirt road and want to be able to see far down the track.
In our experience, unless there is a lot of matting on the hood or the light bar is tipped back far enough, high-mounted light bars create a lot of kickback from the hood and other dust and air particulates, and don’t provide adequate visibility in poor weather conditions such as rain, snow and fog. Our team highly recommends installing the first auxiliary light on a low-lying area such as the front grille.
Driving Lights We Use on the Expedition Overland Fleet
2016 Tacoma
2016 Toyota Land Cruiser
Rigid Industries 40″ SR-Series LED Spot/Flood Combo Light Bar
Rigid Industries 30″ 8E-Series LED Spot/Flood Combo Light Bar
2018 Toyota Tundra Platinum
We refer to as the “Light Bar to Rule Them All”, and for good reason! Lengths vary from 10” to 50”, it has phenomenally good flooding for trail work, and a tight long-distance beam for moving fast down a trail or dirt road. This product also boasts a helpful GPS feature, which measures how quickly the vehicle is moving and intuitively widens or narrows the light beam as you slow down or speed up. Pretty cool! In our opinion, this is the most capable and adaptable light bar on the market.
UTILITY LIGHTS
Utility Lights are used to enhance basic functions around the vehicle. We like a lot of light in general, so we’ve mounted utility lights throughout the exterior of our trucks. Adequate light makes wrenching in the field, parking in the dark, or walking around camp that much easier.
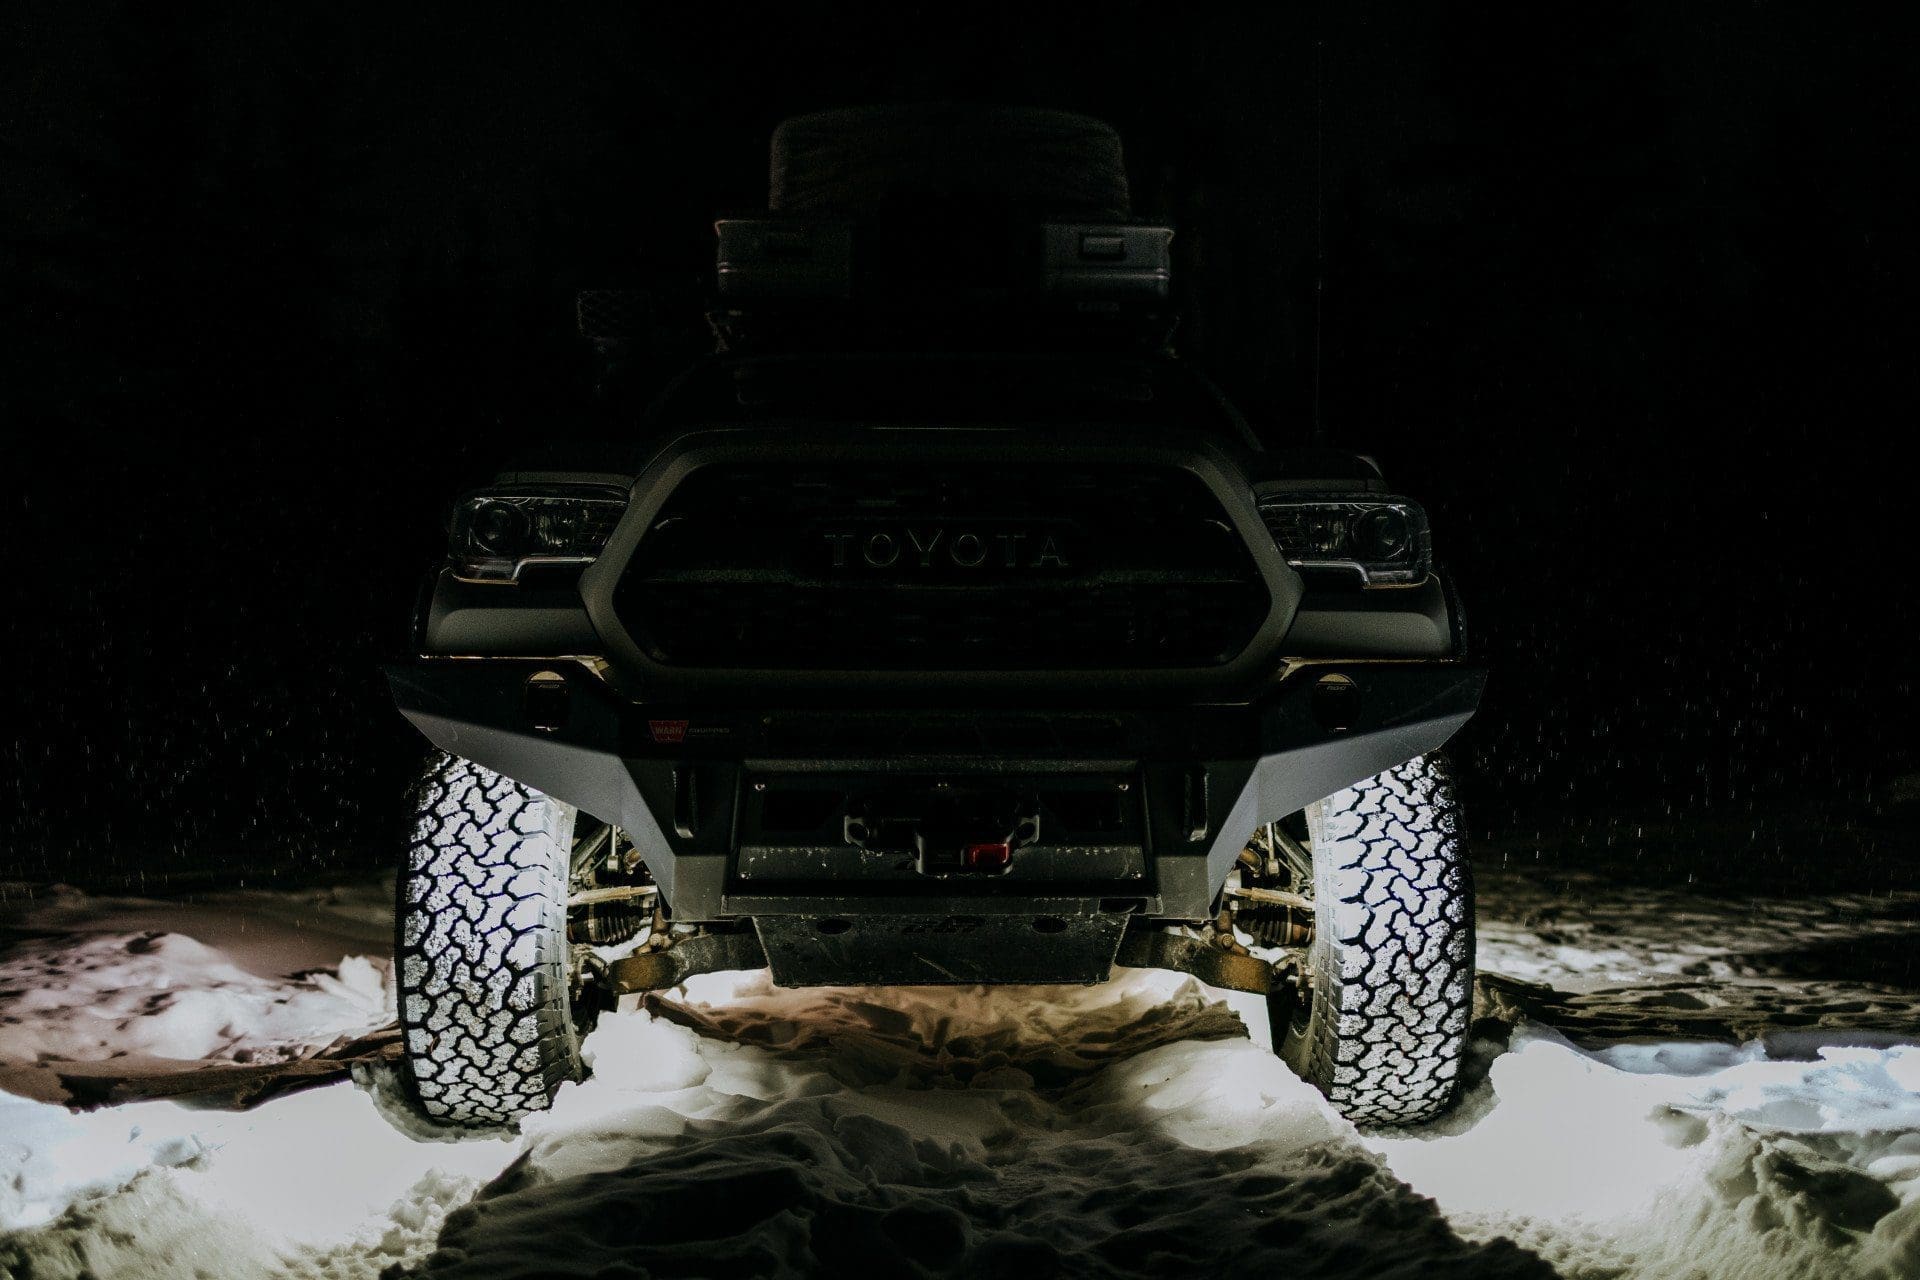
As Toyota trucks don’t come with engine bay lights, we usually mount a set of RIGID Industries 1×2 65° DC Scene Lights under the hood of our Toyotas. Clay fell in love with these flush-mount lights as they are angled perfectly and emit a diffused glow. This glow helps eliminate spots and rings without shining in your eyes when you’re working in the engine bay. We’ve also had good success with the Scarab Offroad Under-Hood Light Kit, which was installed in our recent 3rd Gen 4Runner build.
We really like using rock lights as utility lights because they draw hardly any power and they’re very versatile and durable. Our favorite is the RIGID Industries Rock Light Kit in Cool White. These rock lights have worked so well we’ve outfitted every vehicle in our fleet with a set of six.
We always install a set of rock lights in the front wheel wells. This location is magic – it’s easy to inspect the suspension components, plus the light kicks out just enough to fill the area to the front inside of either tire. If you are rock crawling or stepping out to look at something at night, the area is fully lit.
We place another set of rock lights between the driver door and rear-passenger door, right in the centre of the vehicle. This is great for passengers exiting vehicles at night as the surrounding ground is lit before boots hit the ground.
A third set of rock lights are placed as far back on the vehicle as possible. We try to angle them outward so that light spills around the truck, resulting in a 360-degree illuminated path that eliminates the need for a headlamp.
Finally, for enhanced visibility, we’ve installed a set of reverse lights on our trucks. We currently run the , which are nestled in the Land Cruiser and Tacoma’s .
CAMP LIGHTS
Camp lights improve camp life significantly and are an easy addition to your overland setup. There are endless possibilities, including interior tent or camper lights, galley lights, cabinet lights, kitchen lights etc.
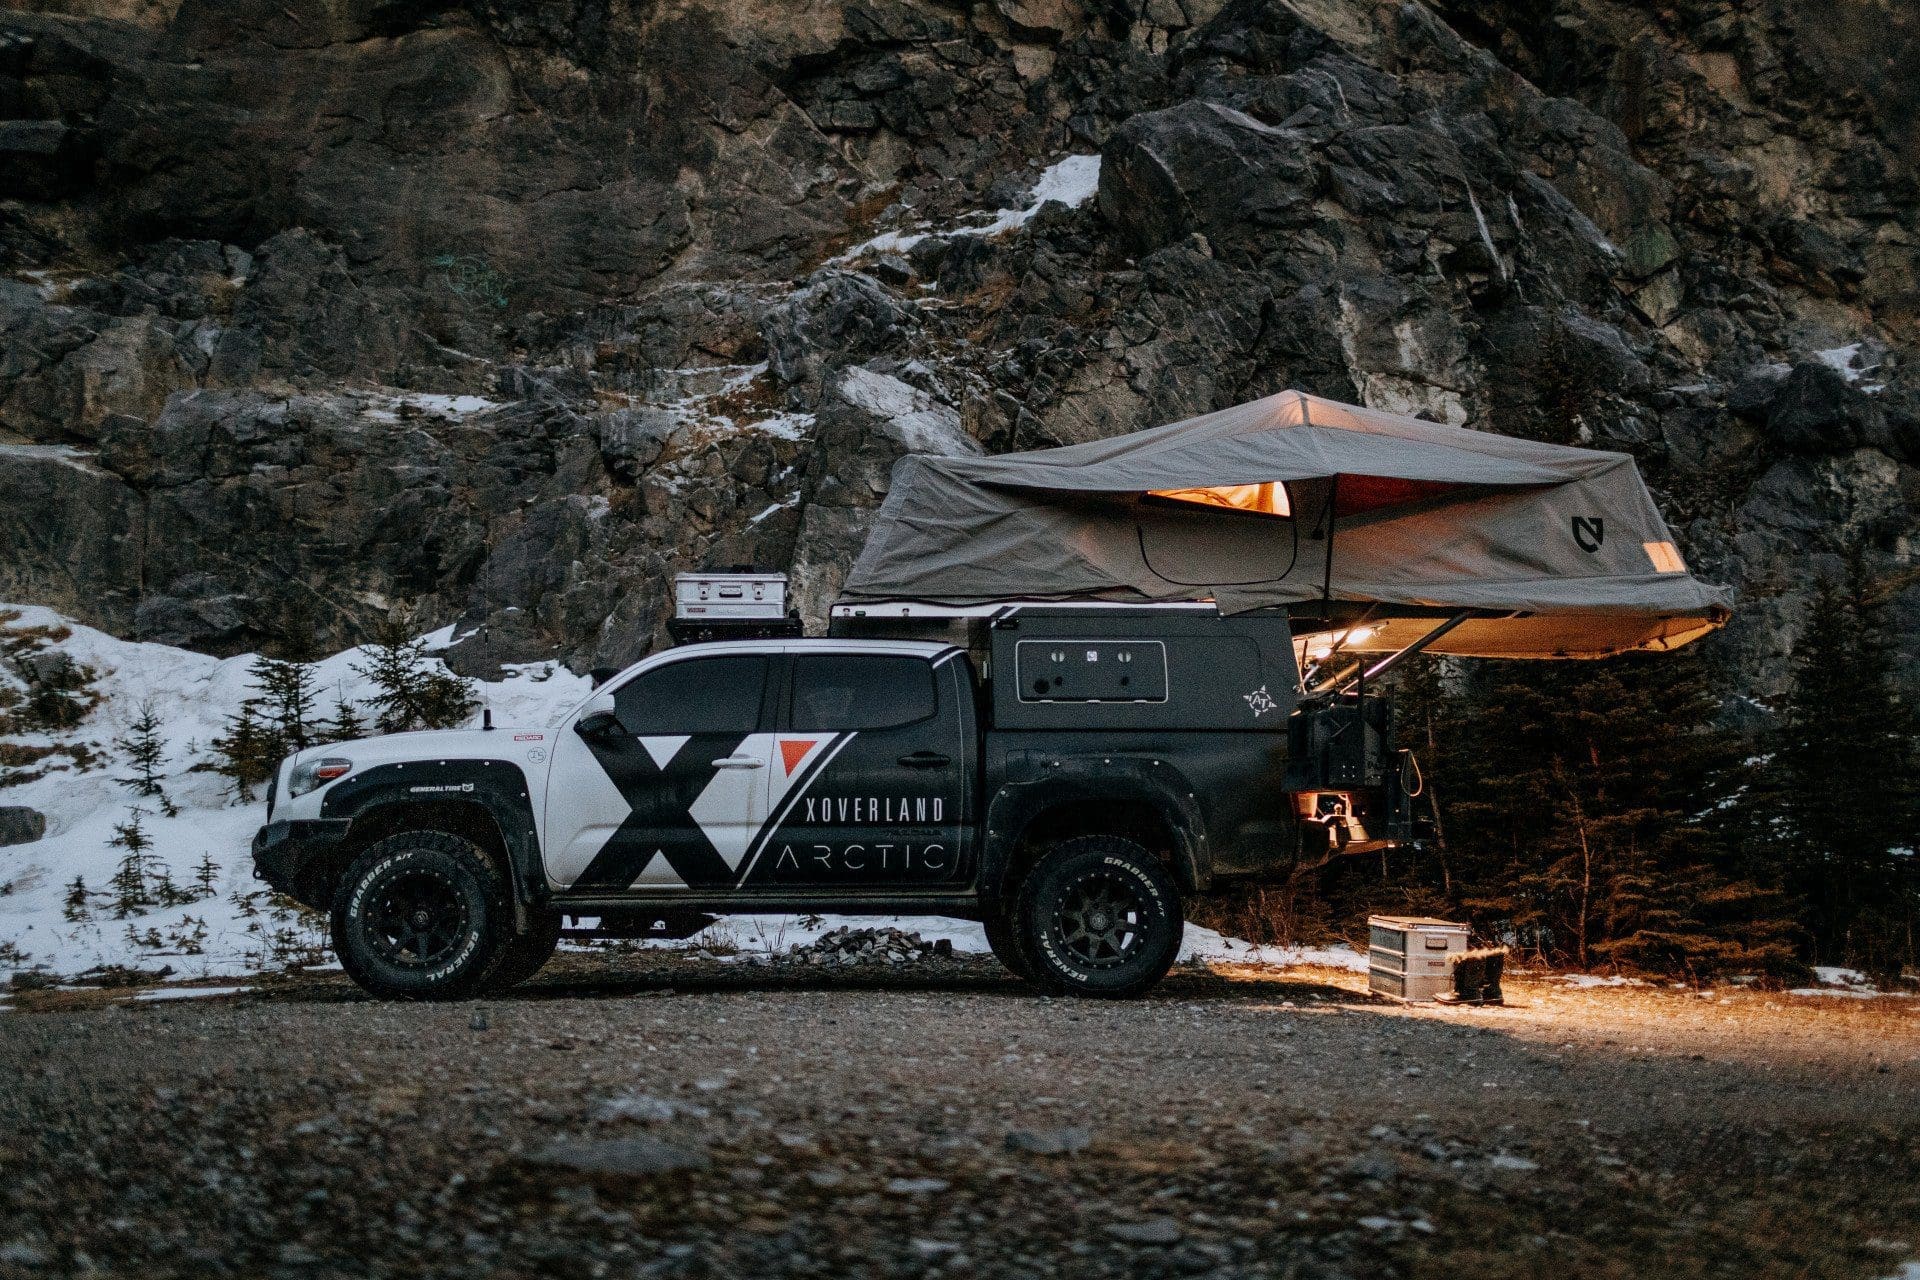
We’ve used the National Luna Hard Mount and Clip-on LED Lights for years in our Habitat system. The touchpad offers different beam options, including low, medium and high white or red. Be sure to consider red and amber lights, as they keep a low camp profile (the military has used them for years) and do not attract bugs as bright white lights do. For extra luminosity, we also mounted RIGID Industries’ 86620 White DC Scene Light on the exterior of the Habitat.
WHICH LIGHTS TO PRIORITIZE ON YOUR OVERLAND BUILD
We know the sheer number of lights and the electronic intricacy involved in the Expedition Overland fleet is not reasonable for everyone, but there are ways to prioritize. Our best advice is to start small and work your way up! If you are looking to add lights gradually, here are some tips on prioritizing what to invest in.
First, our preference would be to install the highest-quality low-mounted bumper light your budget allows for. These are the best for all weather conditions and are used the most while driving.
Next, we would prioritize reverse lights. These are a priority for safety purposes, especially when backing up in tight spaces or in the dark. After that, we would recommend area lights that shine over the most well-trodden camp areas.
THE IMPORTANCE OF QUALITY
Most aftermarket lights are LEDs these days, and quality does matter. Here are some things to look for on your quest for exterior lighting:
A robust casing. LEDs tend to heat up quickly, so look for a deep heat sink. You also want a casing that has undergone a strong powder coat and is sealed from the elements.
A clear polycarbonate lens. High-quality lights will remain clear for the duration of their lifetime while cheaper ones will yellow over time. Keep an eye out for UV resistance as well.
High-efficiency LED technology. Cheap LEDs can be very bright but typically don’t last as long and may experience intermittent problems. They also draw a lot of power, which could lead to a drained battery. The high-end light bars draw significantly less power but produce the same amount of light. The old adage, ‘Buy once, cry once’ is very applicable here.
LEARN FROM OUR MISTAKES
To be honest, before we started using the our wiring was horrendous and most of our lighting failures occurred due to poor wiring. The owners of sPOD, John and Cindy, are good friends of ours and they make a great product! The SPOD allows us to use between six and eight different switches, condensed into a single line, with management of all of them through a single device.
To learn more about Overlanding and Vehicle Battery Management Systems, check out our post HERE.
We hope this post has cleared up any confusion when it comes to choosing exterior lighting for your overland vehicle. Remember to start small and work your way up, prioritizing what matters to you, and eventually you’ll have the lighting system you’ve always dreamed of.
Which lights are you currently running? What questions do you have about lighting and overland vehicles? Shoot us a comment below! We would love to hear from you!
Want to learn more about exterior lighting?
WATCH PROVEN: OVERLANDING VEHICLE LIGHTING
WATCH “OH HEY THERE” EP. 24 EXTERIOR LIGHTS